
Recipe: Sous Vide Cheesecake in a Jar
By Jack Lawson Dessert Sous Vide
April 30, 2020
Traditionally, cheesecake is made with a faux-water bath. Using sous vide innovates on this history by offering 360 degrees of steady heat, precise temperature control, and hands-off cooking. Even better, the base for cheescake is constant - allowing for a mix and match in just one batch. Top with blueberries for the traditional, strawberries and caramel, or something else entirely. The world is yours, and there's cheesecake for dessert.
- Prep: 20 mins
- Cook: 5 hrs 30 mins
Ingredients
8 oz. cream cheese
2/3 cup granulated sugar
2/3 cup buttermilk (to make this at home combine 1 tbsp of lemon juice, or white wine vinegar, for every 1 litre of milk and let stand for at least 10 minutes or up to 30 - make sure to strain afterwards!)
2 g kosher salt
3 large eggs
2 tsp. vanilla or vanilla extract
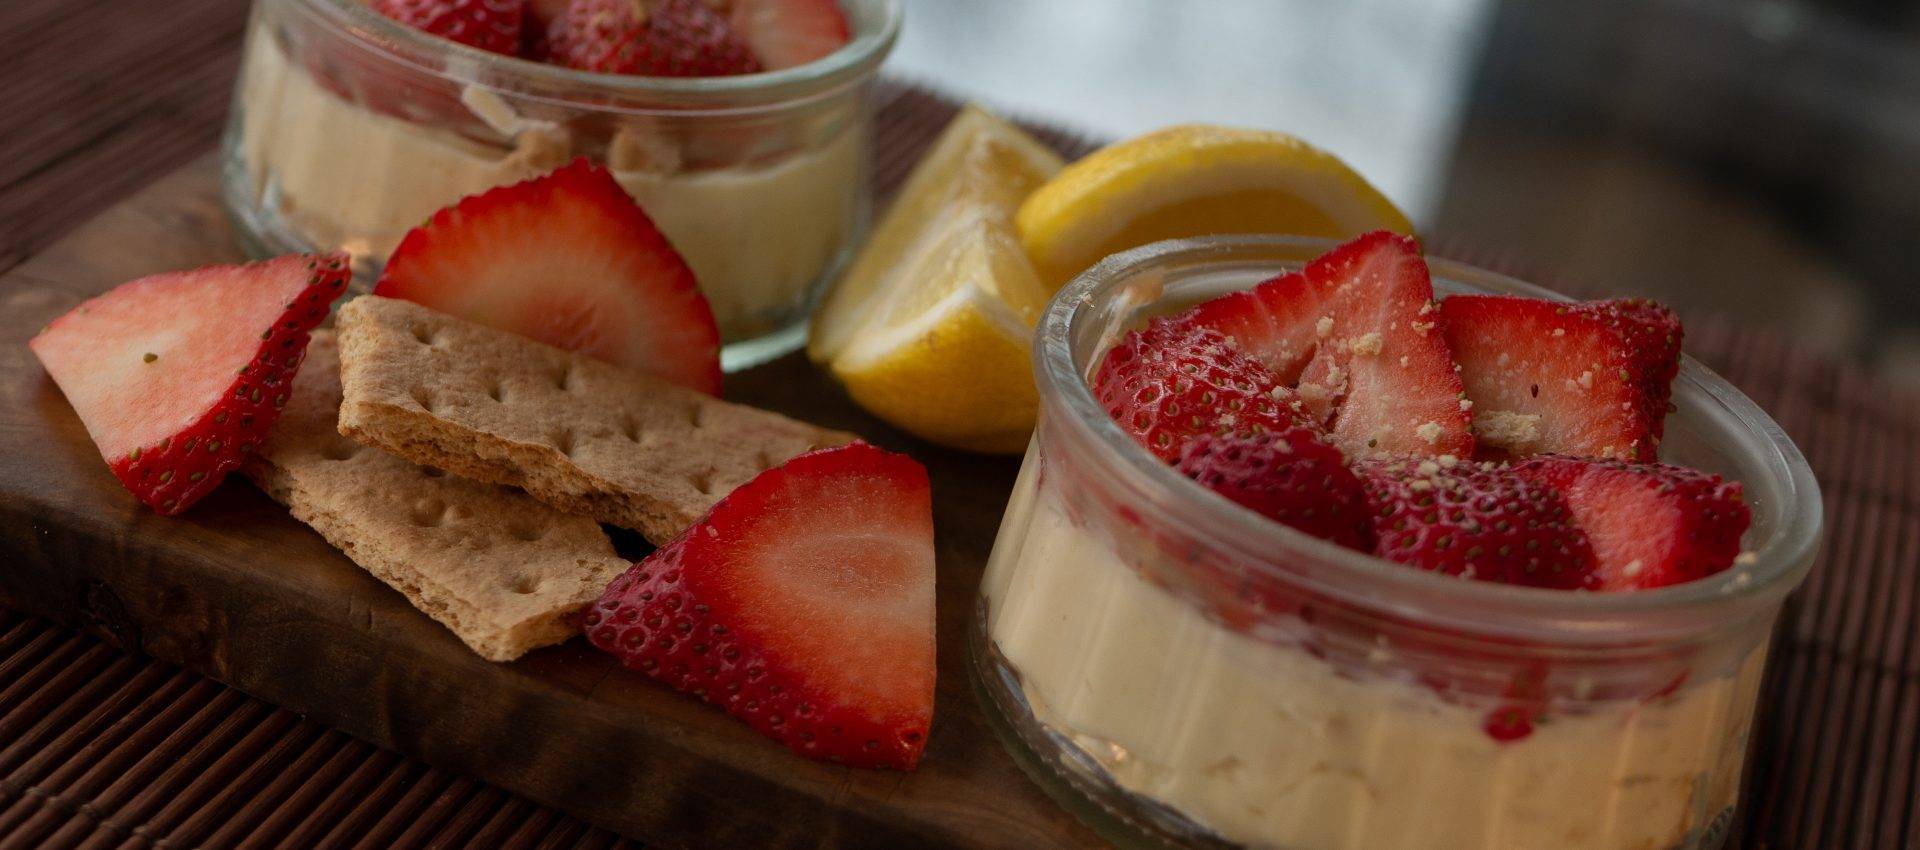
12 4 oz. mason jars - larger sizes work too, but we find that the 4 oz. is perfect for a single serving
For the Crust
3-5 crumbled graham crackers
3 tbsp of soft, room temperature butter
1 tbsp of sugar
1 pinch of cinnamon
To Top
A handful or your favourite berries (I like strawberries myself)
Extra crumbled graham crackers
A drizzle of homemade caramel
Directions
1In a large food processor or stand mixer combine cream cheese, granulated sugar and salt. Blend until light and fluiffy. You can do this my hand, but be prepared for a work out!
2Slowly beat in 3 eggs and the vanilla extract
3Drizzle in the buttermilk, combining thoroughly until no clumps of cream cheese remain
4Set your water bath to 176 degrees Farenheit
5While heating, crumble graham crackers in a rough powder and combine with 3 tbsp of soft butter, 1 tbsp of sugar and a pinch of cinnamon until relatively smooth
6Distribute the cracker dust evenly across the bottoms of your mason jars and bake at 350 degrees for 10 minutes to develop a crust
7Let the mason jars come back to room temperature, about 30 minutes
8When the water bath is ready to go slowly add the cheescake base to each mason jar. If you go too fast you risk distrubing the pre-baked crust and ending up with graham cracker bits in the middle of your cheescake
9Tighten the lids of your mason jars (remember, finger tight means that you tighten until you hit resisitance, go back one rotation, then forewards one - if you see some air bubbles during cooking you're on the right track!)
10Using a pair of heat-proof tongs lower your mason jars into the water bath and cook for 90 minutes for a traditional cheesecake texture (if you'd like something closer to custard you can cook for 60 minutes instead)
11When finished, remove from the water bath and let cool before refrigerating. This is more for making your glass mason jars last longer by reducing exposure to sharp shifts between hot and cold.
12Refrigerate for 4 hours and up to overnight
13Ready to eat? Garnish with halved straberries, a dollop of caramel and a smattering of roughly chopped graham crackers and dig in!
3 Reviews
Roselba R
March 10, 2021
A lot of steps but worth the result. These tasted amazing and was gone within the hour.
Courtney Pears
March 4, 2021
This was delicious. I added some grated lemon and orange zest on top. Made it for my girlfriends baby shower and they loved it!
Rebecca
April 10, 2022
I am trying this today, but have concerns about mason jars in the oven at 350 for the crust. That’s super dangerous and would really warn folks against it. I’m trying a water bath on a cookie sheet at 200 degrees for a longer period of time, and will let the crusts cool in the oven.