Sous Vide Beer Brewing: What you need to get started
Although home beer brewing is often thought of as a complex, time-heavy endeavor there are more than a few short cuts for brewers of all stripes.
In short, there are three primary methods of brewing beer at home. The two biggest factors that impact each method are creative control, or your ability to adjust flavor during your cook, and time. The latter of these two factors is impacted most directly by what you are brewing. Certain beers require remarkably short active brewing windows, while others can take up to eight hours depending on the complexity of the beer.
Sous vide beer brewing sits at a happy medium between what’s known as all-grain brewing and extraction brewing. For the purposed of this article we’ll primarily describe the first method, as it explains more elements of the general process.
Getting started: What you need to brew beer at home
Brewing beer at home starts with having the right equipment. You’ll need a few things to get going, the first of which are a few sturdy and specialized vessels. Although there are a wide variety of names involved – brew kettles, carboys, and the like – fundamentally we are working with a series of pots, glass or otherwise. If you’re curious about why sous vide is a great fit for home beer brewing you can check out our last article on the topic. For a list of SousVideGuy’s favorite units for all budgets you can also check out this round-up.
In short, you’ll need the following:
- Brewing Kettle
- Something to keep your grains separate in the water bath
- Grains, extract, and malt for flavoring your beer
- Sous Vide Unit
- Two carboy-style jugs for fermenting, ideally including bubble airlocks rather than cork.
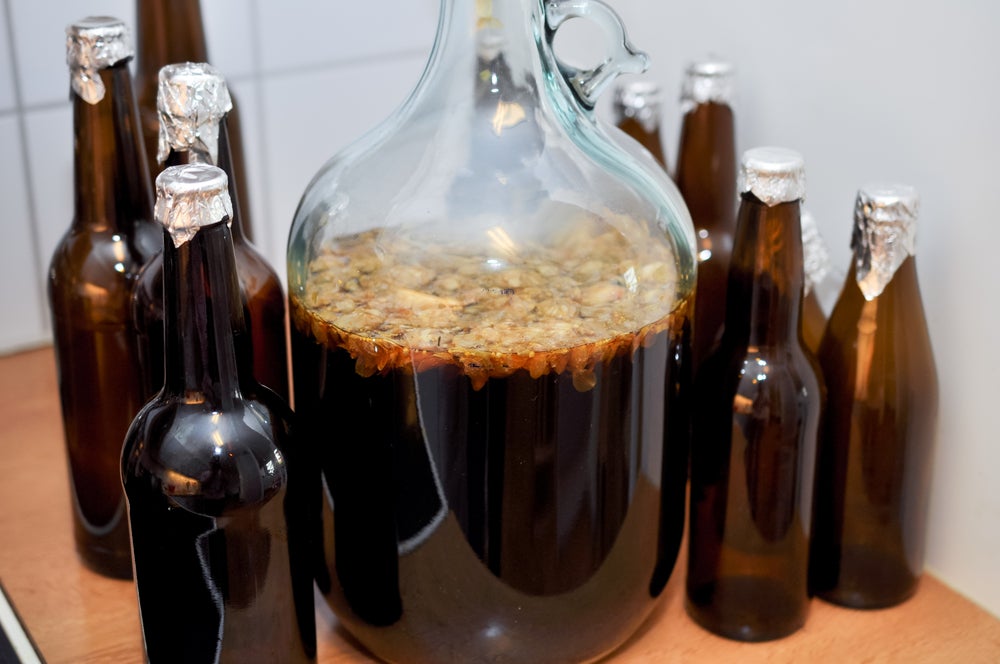
The brewing kettle, really just a large volume pot, is where the action will take place during brewing. The goal is to bring your water bath up to the right temperature to extract sugar from your grains. This produces wort – sort of like sugar water. When working with loose grains rather than hops you will also need a mesh bag to help the grains leech into your water bath without things getting messy.
Generally speaking, you add hops to this brewing kettle over the course of your active cooking time. For a traditional bitter this can take as little as two hours, while more complex combinations of ingredients take significantly longer. This is typically referred to as all-grain brewing.
Following cooking you’ll need to transfer, seal and ferment your beer. The reason for two vessels for this step is simple. Certain beers, like bitters, respond extremely well to a second ferment following the first, albeit at a different temperature. A second carboy, like those shown below, allows for an easy transfer between one fermentation vessel to another.
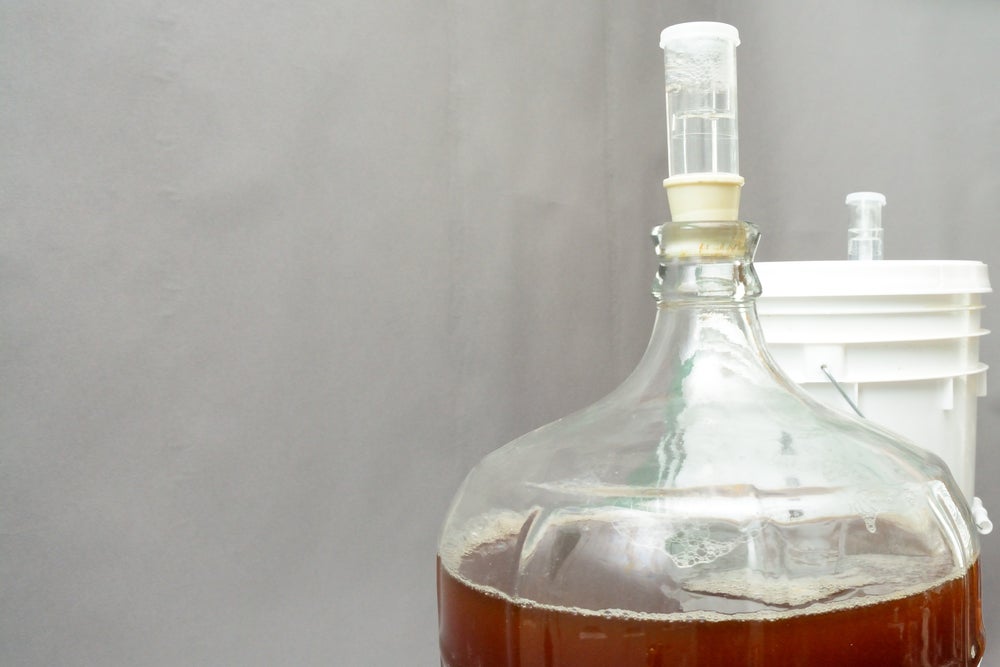
You’ll also notice that there are some dandy red handles at the tops of these units. This is specifically for moving them around during filling, or transfer from one vessel to another. You can buy the handles for less than $20 online, or more robust brewer’s kits.
How Sous Vide Beer Brewing Improves on the technique
The primary advantage of sous vide beer brewing is realized when using a partial mash technique. This is in-between the long active cooking time of an all-grain brew, and something referred to as extract brewing. Extra brewing offers a bit of a shortcut through purchasing malts that allow for a complete, pre-formed flavor profile to be added to your beer.
The partial mash technique, which we recommend for sous vide beer brewing, involves using a little bit of all-grains, some extract, and a whole lot less time. Because you are using the extract plus your choice of grains you can really tune into a flavor that suits your palette. For this reason sous vide beer brewing is a great option for retail brewers who are looking to test a variety of flavor profiles, or for home-brewers looking to get their feet wet with a variety of different grains and extracts.
This is where sous vide comes into play, allowing you to gently heat and circulate your water in its brewing kettle. If placed over a stove-top burner this also allows you to apply two sources of heat for extracting all that flavor from your hops, grains, and malts.
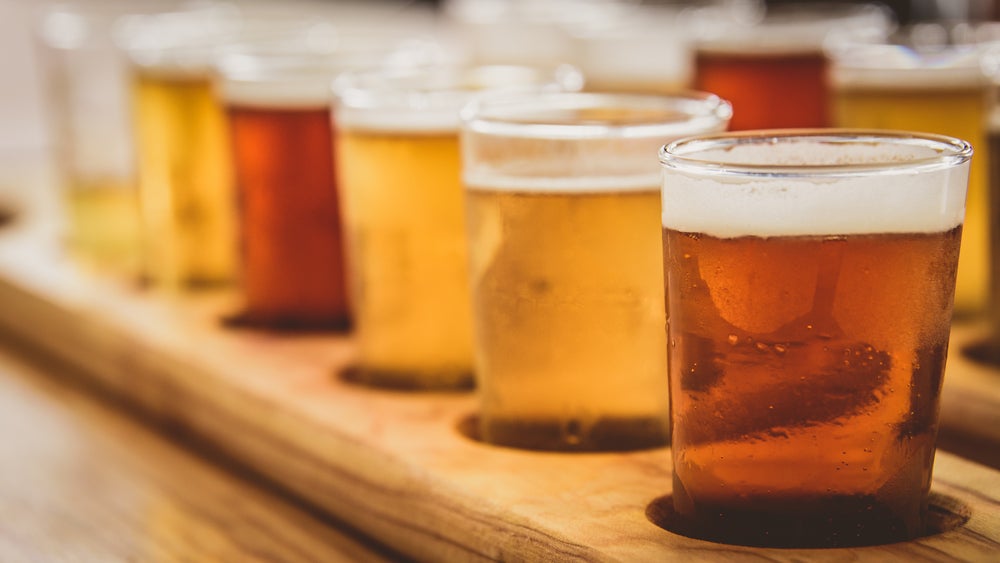
Types of Beer: From easy to expert
By and large beer is divided between those that have the yeast ferment at the top of your carboy and those that ferment the yeast at the bottom of your vessel.
Top-fermentation produces ales, while bottom-fermentation produces lagers. Within each category are a wide number of varietals like brown ales, pale ales, porters, or Pilsners, dark lagers, or Bock-style lagers. Another major difference is that top-fermented beers are typically stored at a higher temperature during the fermentation windows.
Some home brewers even wrap their carboys in blankets to keep the temperature consistent!
The simplest beer to brew for most is a traditional bitter.
This type of beer is fantastic for getting started for a few reasons. First, bitters have something referred to as a low gravity. This is used by brewers as a way of gauging how strong the finished product will be in terms alcohol content.
Bitters typically have a lower gravity, which corresponds to typically between 3.5% to 5% on the bottle.
Interested in more about sous vide beer brewing? Make sure to check out SVG’s last article on the subject, which provides more detail on some of the techniques discussed here.
Photo credit: rozbeh/Shutterstock; IntoTheWorld/Shutterstock; BDoss928/Shutterstock